Hey guys,
I’m a new recruit who is about to be enrolled and I am having troubles with getting my beret correct,
1.I can’t get the right side of the beret to go below the leather to my ear
2.I can’t get the little covering of the cap badge with the “triangle” (idk what to call it)
I followed the instructions in the beret but couldn’t get the rights shape, I’m not sure if that side shrunk or I am being stupid! Please can somebody help me!
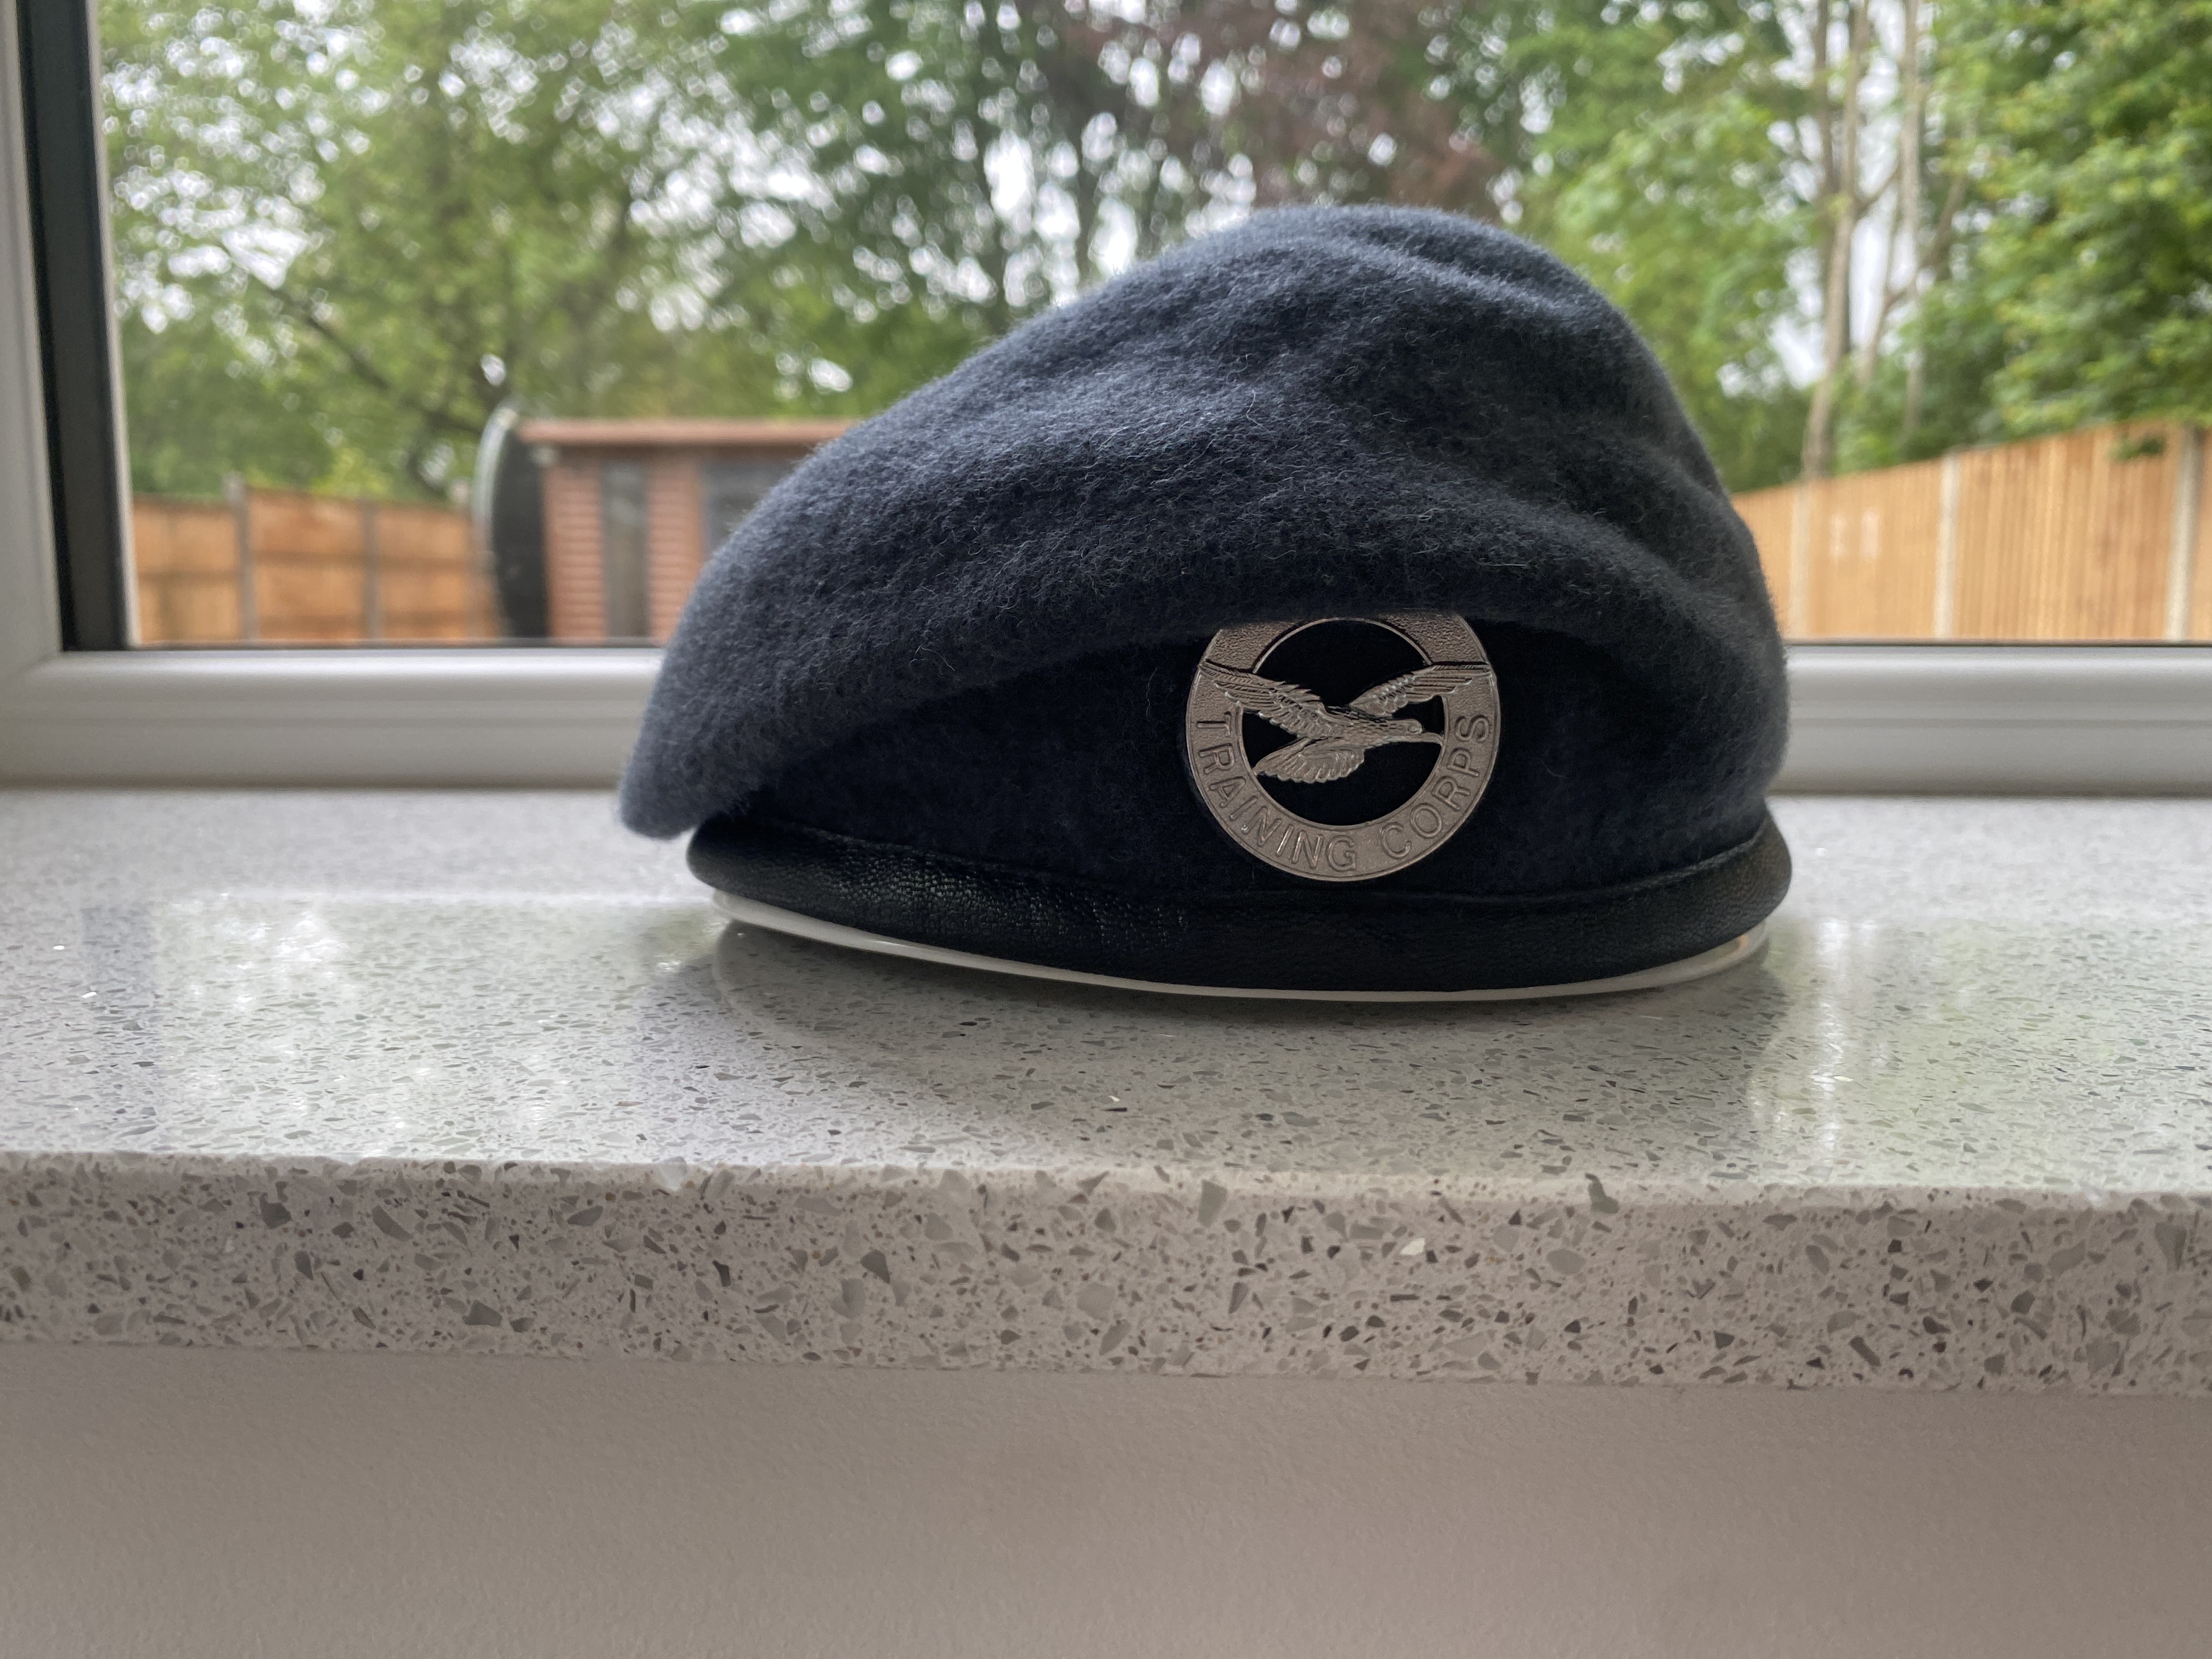
Here is a photo of the beret atm:
There will be younger people with newer tips than mine… but in my day we used to splash warm water on to the felt to make it damp - but not soaking wet…
(Warm not hot and not cold!)
Then put the beret on and smooth / mould your beret on to position… then keep it on while it dries out.
Because it’s woollen it will take a while I’m afraid - so best left to a day at the weekend when you don’t have to go anywhere, so you can keep checking the position on your head. If it gets to a point that it’s still damp but you need to go to sleep… you could place your beret on an inflated balloon.
Moulding your beret used to be one of those things that you were never told about - it was seen as a way of telling how new a cadet was… and it was sweaty palms smoothing the beret over time that helped to shape it…
Welcome to RAFAC! I hope you have a brilliant time!
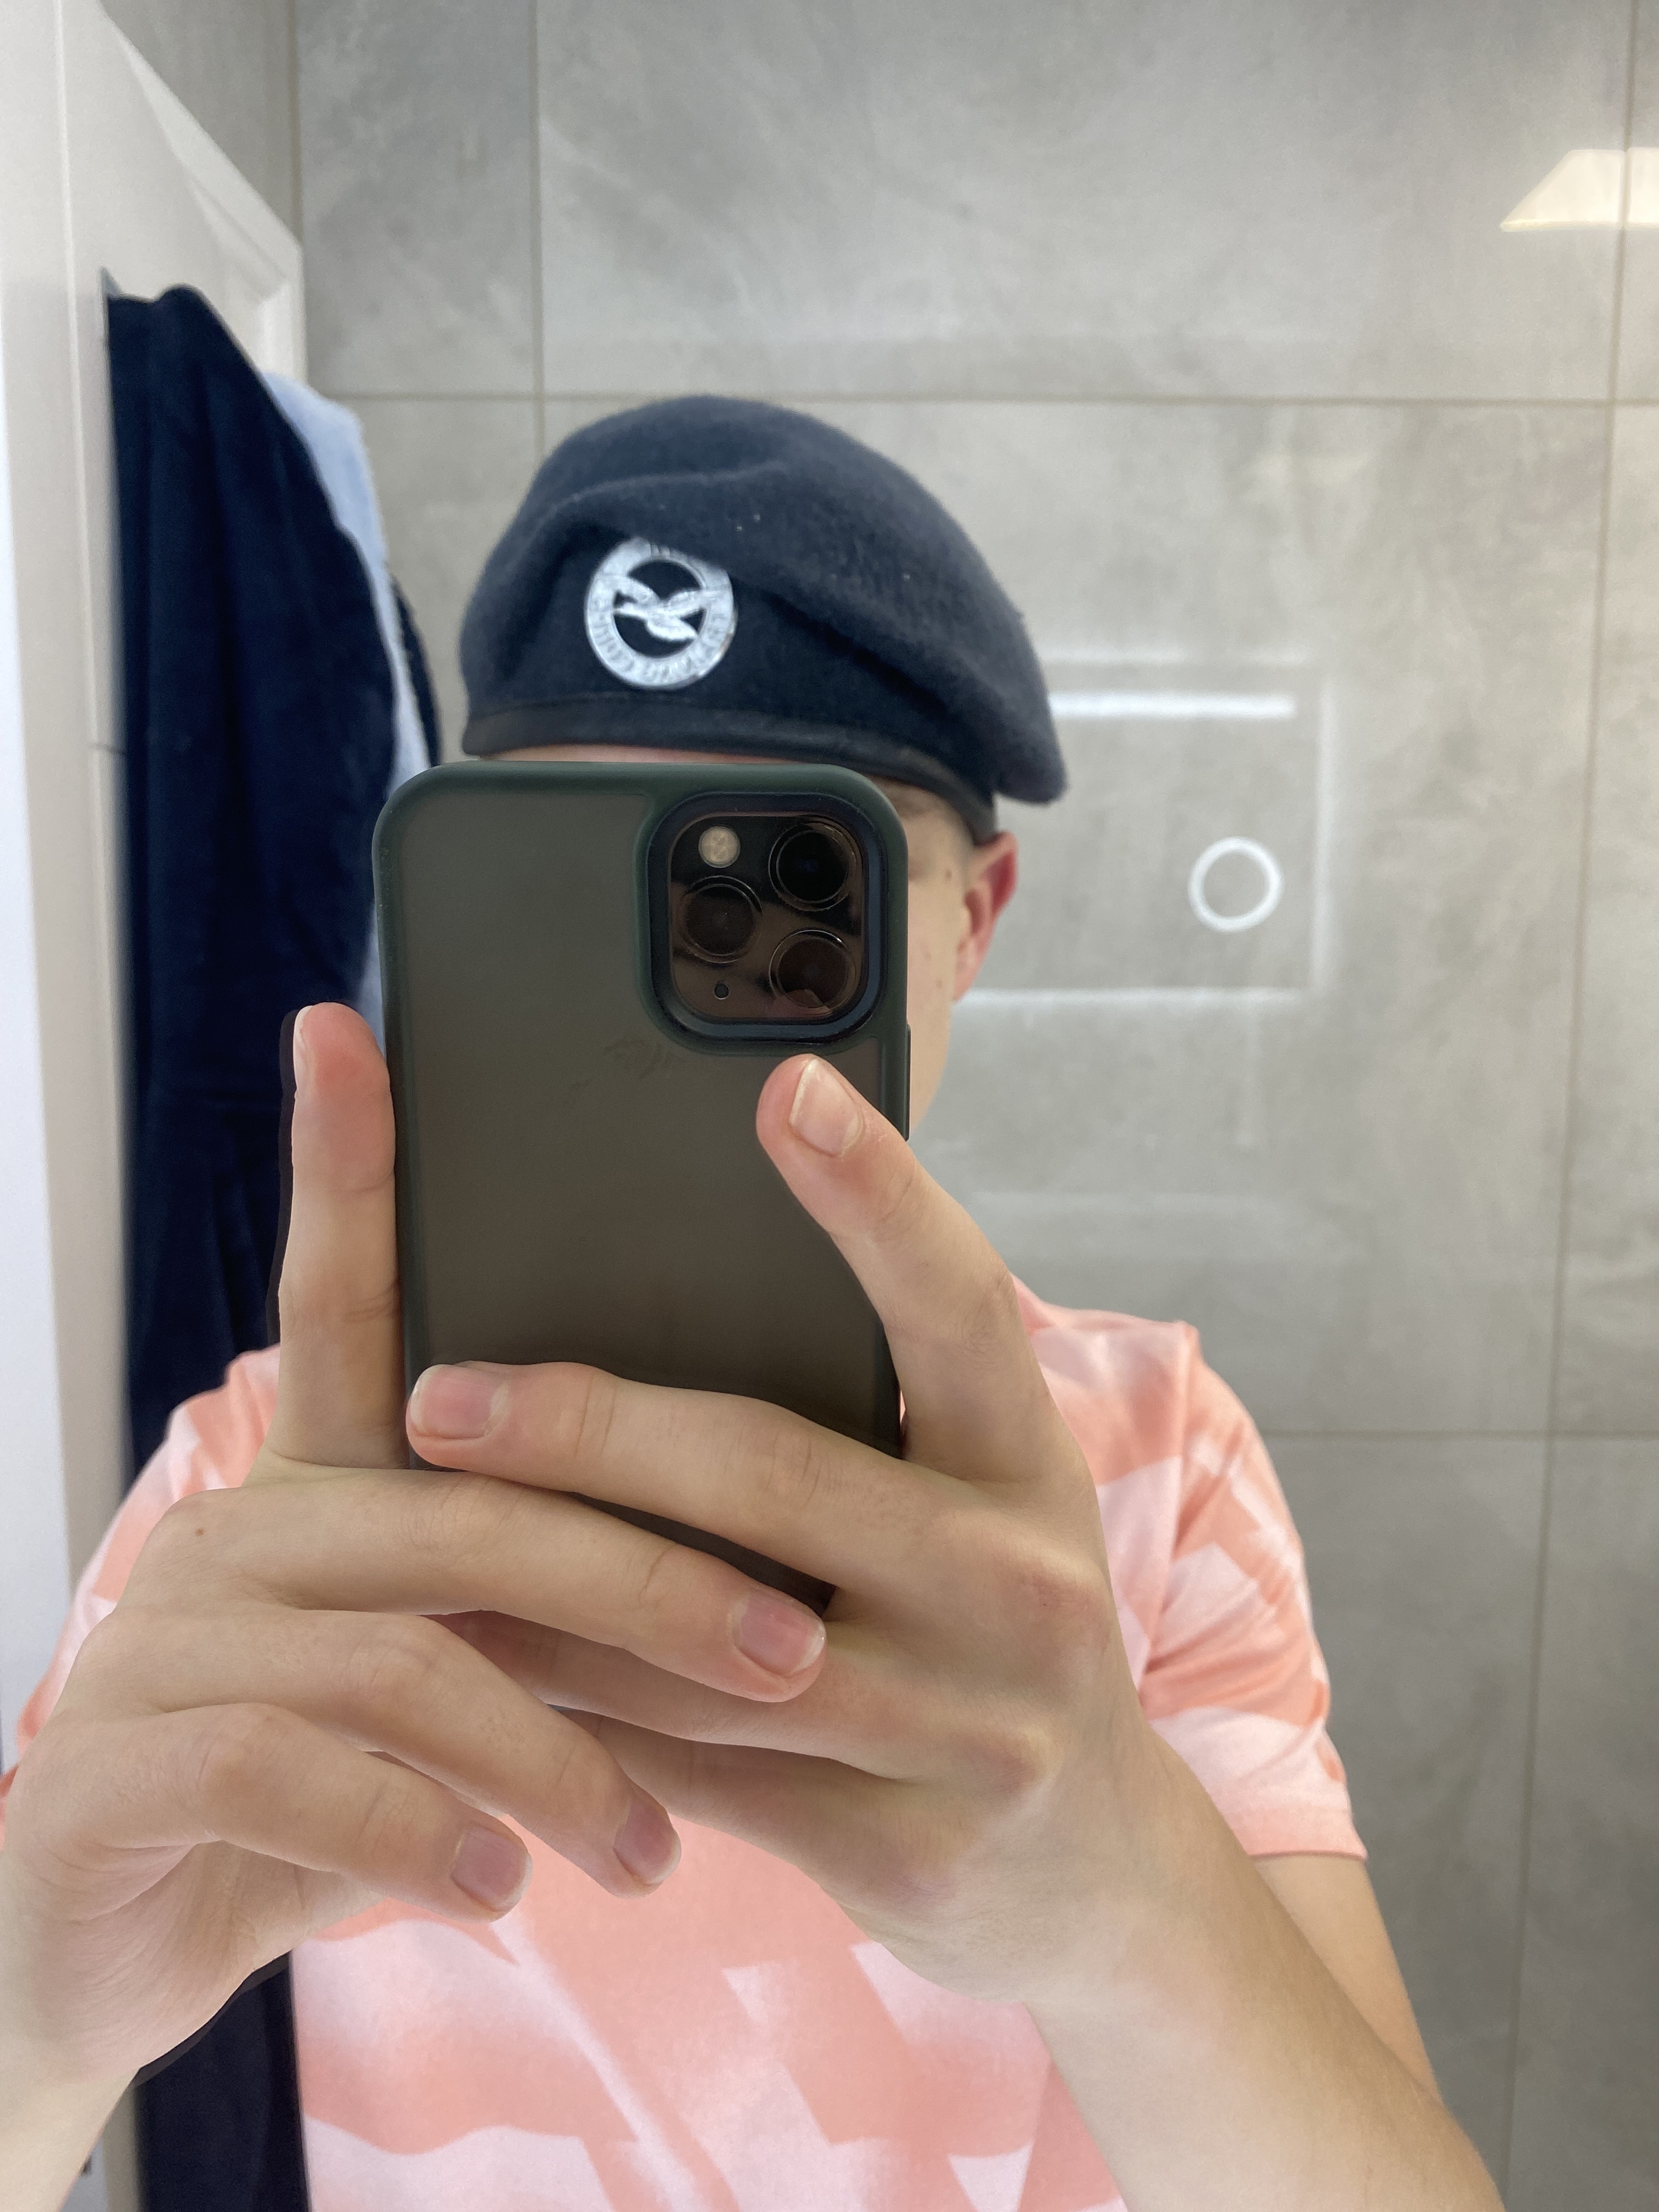
How does it fit?
Typically when I see a beret moulded like that, it is too small for the wearers head.
1 Like
What @Virgil said. Try a larger size (but not too large) if the band is too tight. If the band fits, then try a new beret the same size, but don’t shrink it quite as much (it’s the hot water that does the shrinking).
P.S. The flap on the right doesn’t need to reach your ear, as long as it covers the leather band it should be fine.
Drying: I’ve had some success with blowing up a balloon to the size of my head, standing it in a bowl so it stays upright, then placing the beret on it to dry. Not 100% perfect but good enough.
Really, what the old and bold don’t tell you is it takes years to get a beret to a decent standard!
2 Likes
Just at the point where it is too worn out to wear generally 
2 Likes
It fits pretty well/ a bit tight but acceptable
Can someone help me with the bit above the badge as well?
Have you searched YouTube?
There are plenty of videos on there that can help, just those that mention hot water its better luke warm 
Yes but I can’t get the triangle tbh
will try and describe now I did mine as best I can.
2 bowls, one with cold and 1 with luke warm water, the warm water gets absorbed more easily. Push into warm water first, then into cold and alternatea few times until the wool is soaked but keeping the leather band dry then wring out as much water as possible.
Place beret on head and using a mirror check the band is in the right place and level all the way round and badge is roughly above left eye, make sure its not pulled down too low.
Place palm of left hand on the badge and push the wool down behind it with all four fingers, with right hand apply pressure and move your hand across the top of your head sweeping the beret down towards the right ear.
once near the shape I was happy with I would place my index finger in the fold behind the badge and second finger in front and grip the badge between those with my left hand and then pull on the flap with my right hand by the ear.
Hopefully may help you a bit
1 Like
You seem to have brought a lot of cloth forward of the cap badge, which is possibly why there isn’t enough left to cover the band on the right side.
It looks from the photo as though the band is just above your right eyebrow and almost on your ear which would be a bit low down, band should be about and inch above the eye socket so you will have less material available to pull over.
Edited to add I placed the knuckle of my thumb on top of my eye socket and the band is then at the nail. It’s a good rough guide for me
I’ll do this after my enrolment tomorrow probs thanks for the tip
1 Like
Another good way to measure is to generally have it about 2 fingers width above your eye.
1 Like